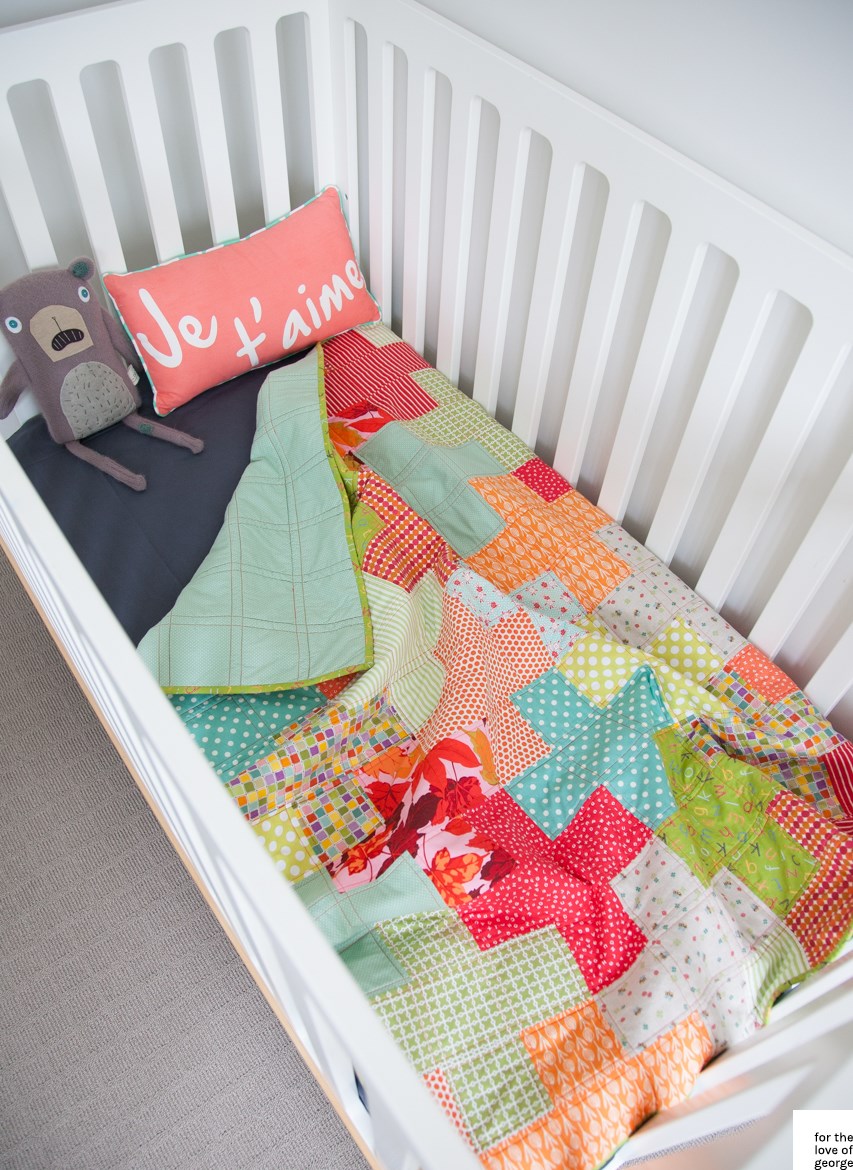
How to make a plus quilt
- Login or Register. See sidebar or visit the ‘My Account’ page.
- Download tutorial PDF. Click on the download link below. If you don’t have Adobe Acrobat Reader, you can download it here.
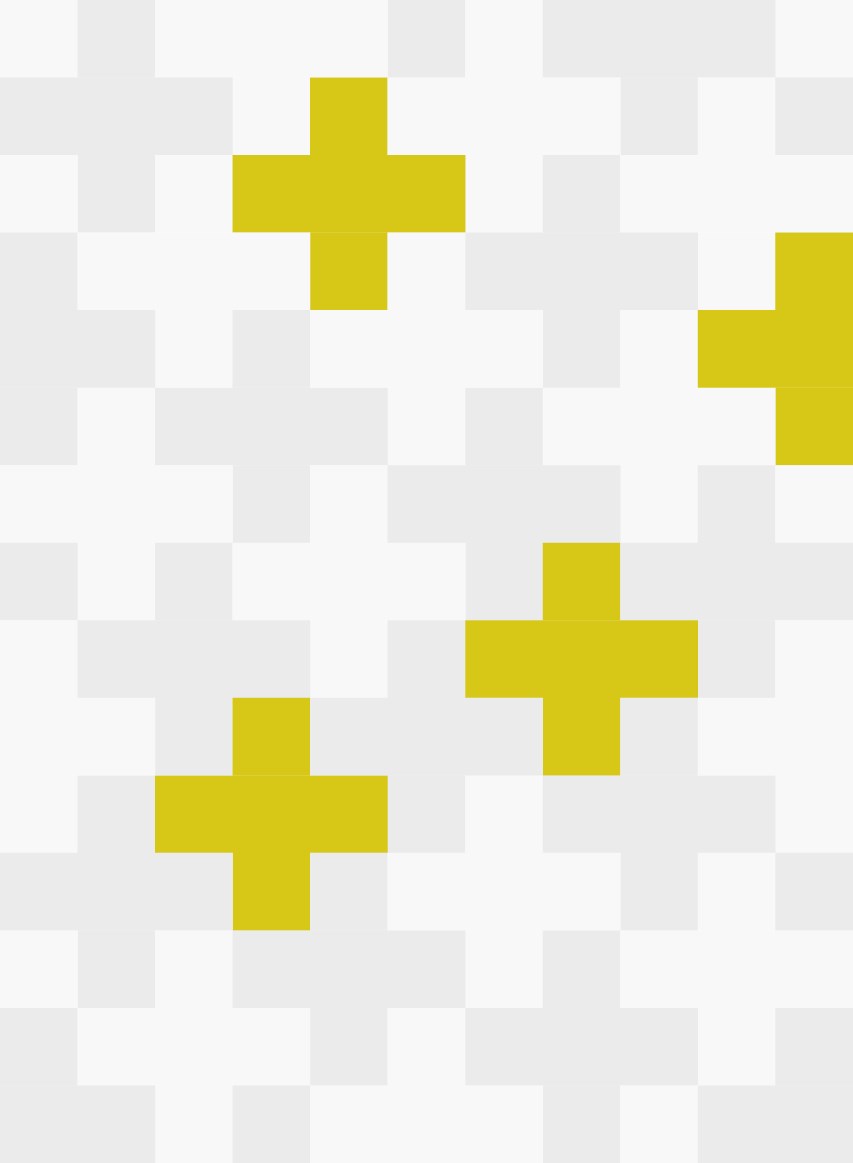
- Select your pattern. The tutorial contains two sizes and three Plus quilt pattern styles: A random layout using 9 different fabrics, a structured layout using 4 different fabrics, and graphic featured plus’s using 3 different fabrics — examples of these layouts are below.
- Choose your fabrics. The tutorial contains a blank pattern outline; use scraps of your chosen fabrics to decide on placement.
- Cut. Cutting guides are included in the tutorial.
- Sew! An accurate straight seam will ensure your plus’s align.
- Baste. Use your preferred method and batting/padding.
- Quilt. How is up to you! You could do structural straight lines, or something more free-form.
- Bind.
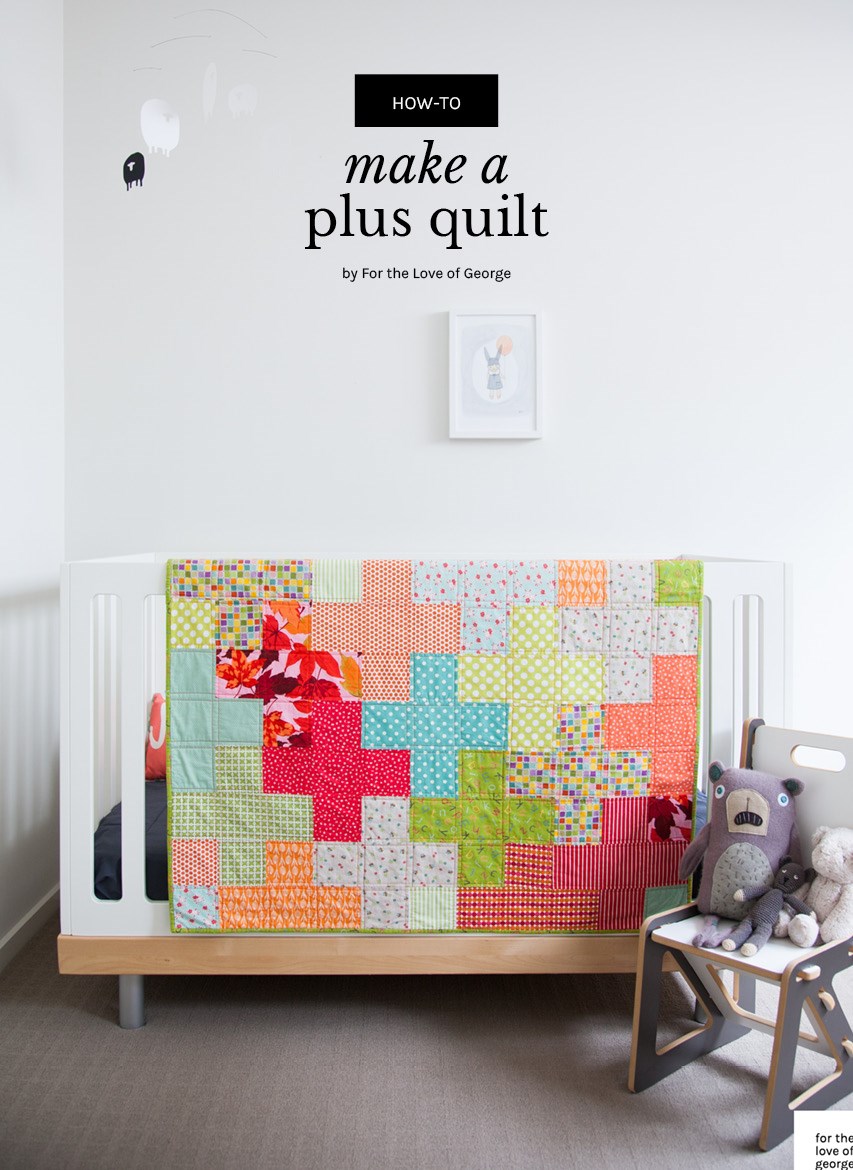
I made this lovely little quilt for my niece, Lucy. I love the way the plus symbols interlock — it looks complex but is really so very simple, you just need to cut and arrange all your pieces before you begin to sew. I’ve put together some brief instructions for you below, plus collated much more detailed info into a downloadable PDF — you’ll find the link at the bottom of the post (you will need to register download — just enter your email address in the top field in the right sidebar. Or if you’re already registered, you may log in using the fields in the right sidebar). This pattern is super easy, so will suit a new quilter, but I have assumed a little bit of knowledge (I haven’t included any instructions on pre-washing fabrics, or pressing seams, etc.), so if this is your first quilt, you may want to read up on the very basics. Or YouTube it!
Best of luck with your creation, and feel free to contact me if you have any questions — via the contact page or the comments section below. And I would love to see your beautiful quilts, too!
The details
Size: Cot quilt
Dimensions: 38 x 52″
Seam allowance: 1/4″
The pieces
Size A: 4 x 4″
Size B: 4 x 11″
Size C: 4 x 7.5″
Layouts
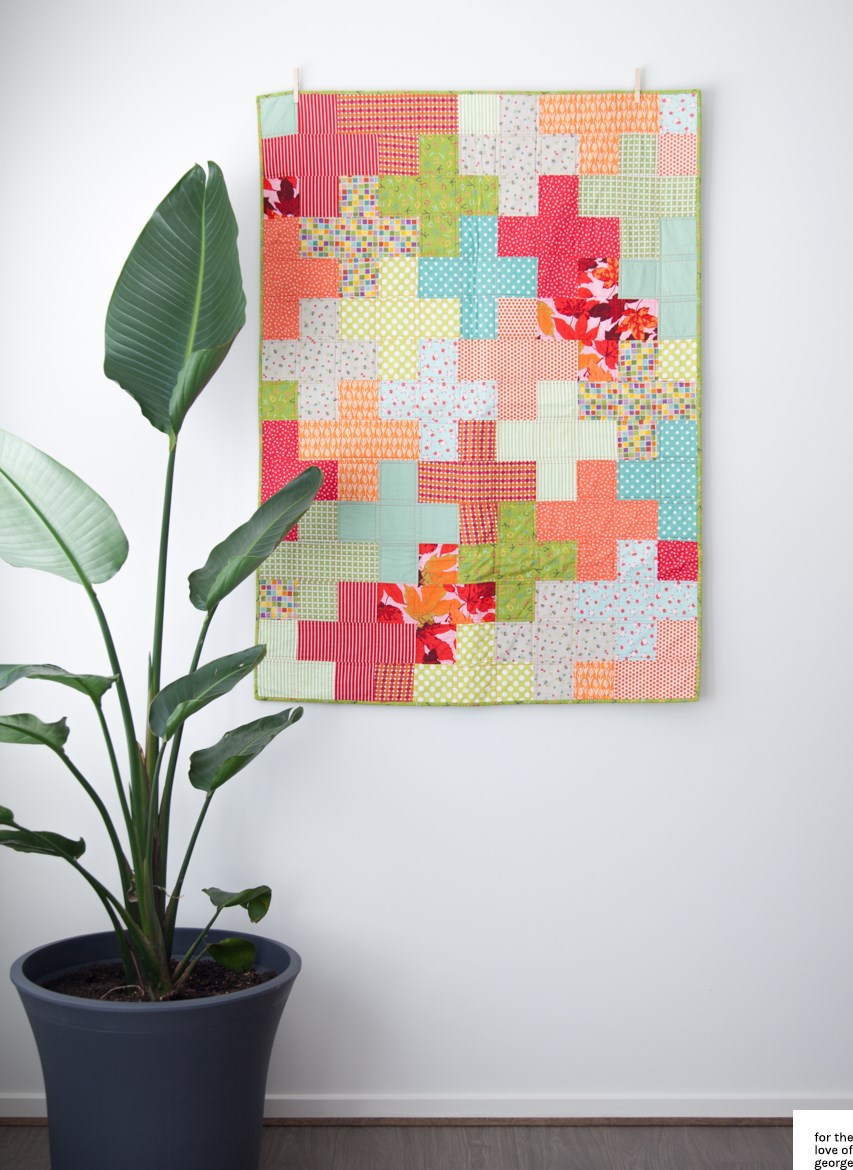
I have included 3 layout options in the instructions. You could use 9 fabrics and a random layout, 4 fabrics and a structured layout, or 3 fabrics with a structured background and feature plus’ — examples are below (download the PDF for detailed cutting instructions).
Option 1 : 9 fabrics with a random layout
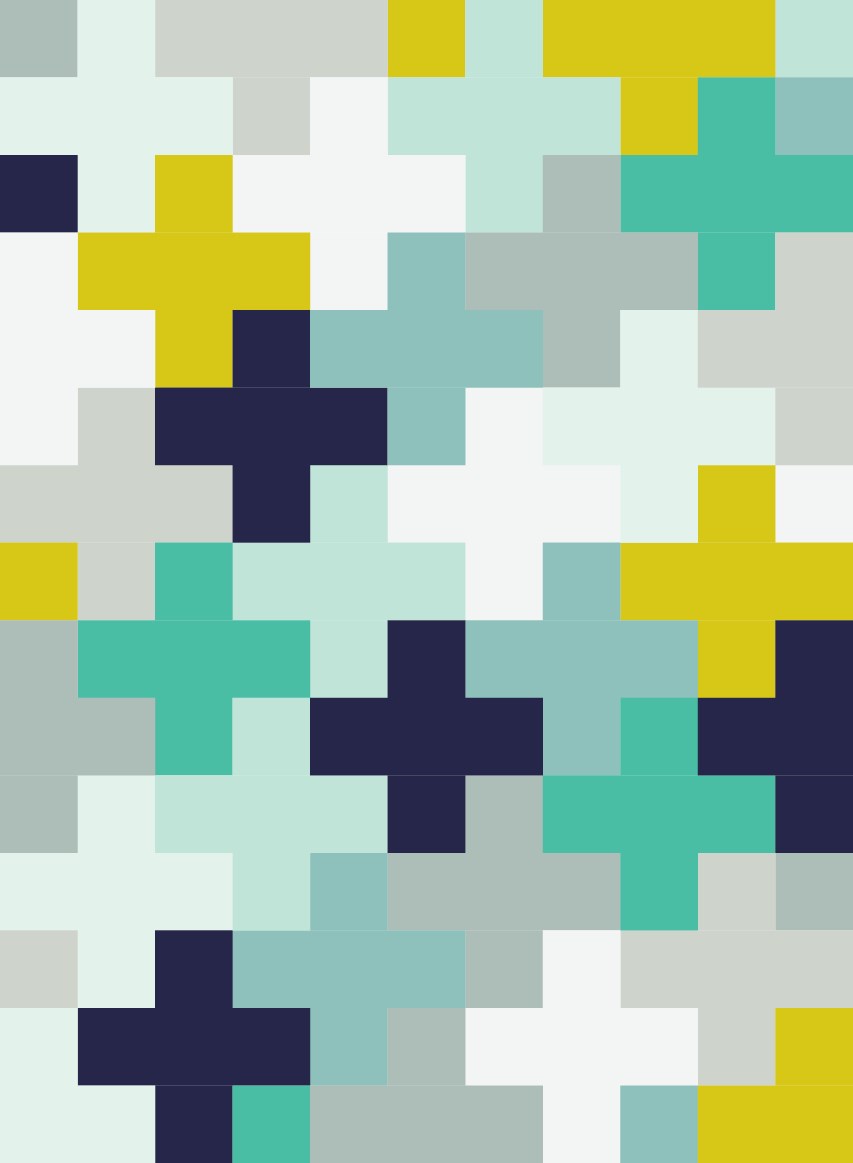
Option 2 : 4 fabrics with a structured layout
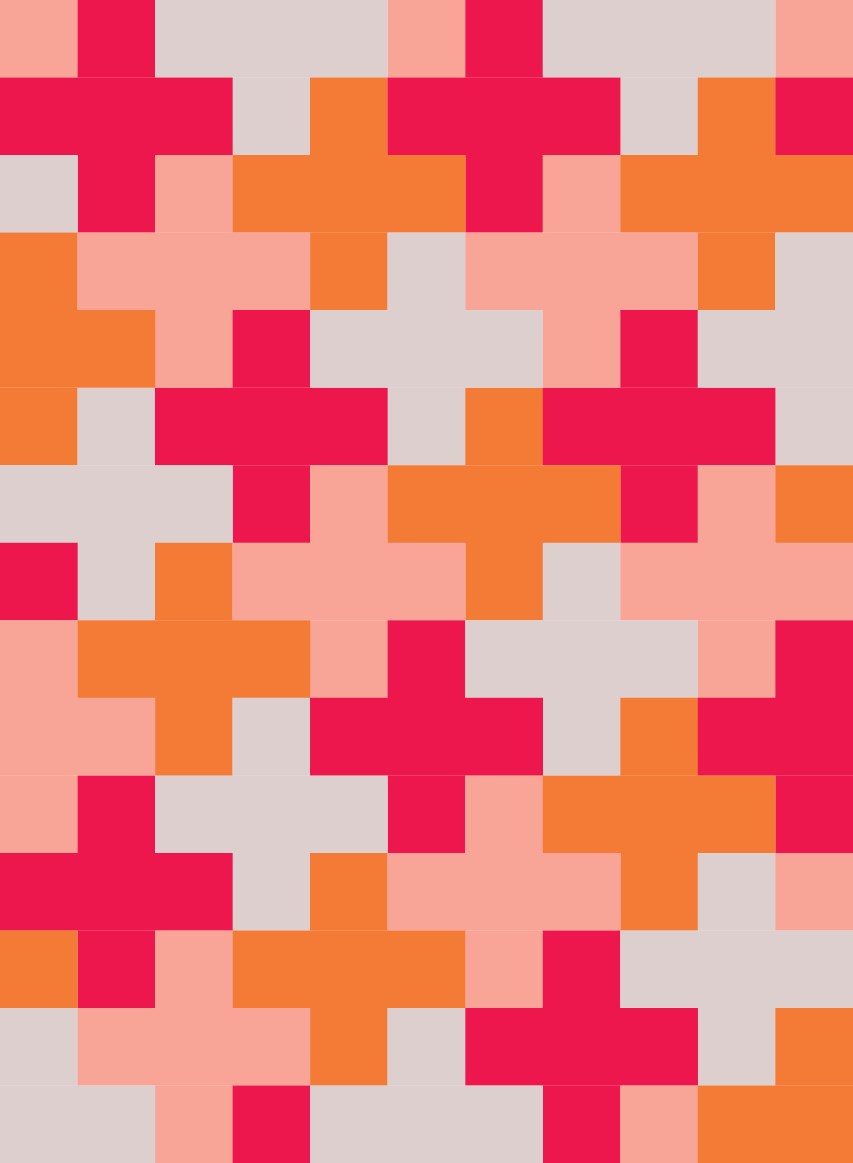
Option 3 : 3 fabrics with a structured layout and feature plus
February 2016 update!
Queen size cutting guide and instructions now included in the download.
The details
Size: Queen quilt
Dimensions: 90 x 90″
Seam allowance: 1/4″
The pieces
Size A: 6.5 x 6.5″
Size B: 6.5 x 18.5″
Size C: 6.5 x 12.5″
Layouts
Instructions for one layout is included: 3 fabrics with a structured background and feature plus’ — example below (download the PDF for detailed cutting instructions).
Option 1 : 3 fabrics with a structured layout and feature plus
I would be so excited to see your beautiful quilts — Instagram a shot of yours (finished or in progress), ping me at @love_of_george and tag #madewithlove_of_george :)
This post was originally published on 24th March 2011, updated in July 2015 and February 2016.
| Title | Plus quilt pattern tutorial |
| Type | |
| File Size | 879.09 KB |


 Yellow & linen chicken quilt
 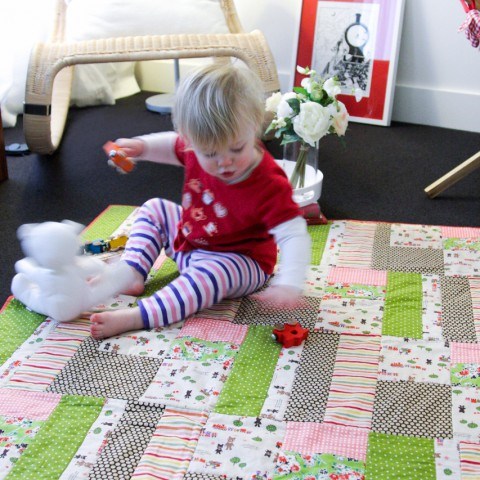 Train quilt for girls
 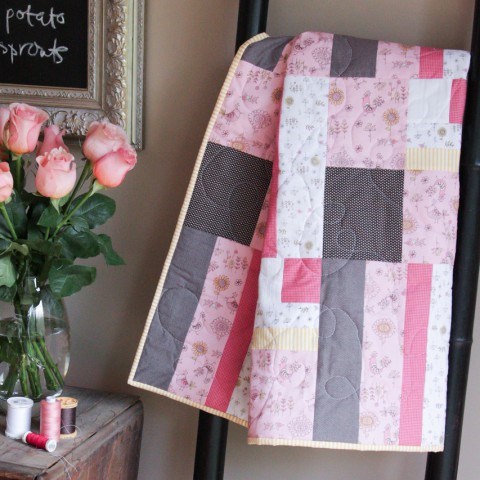 Pink little birdies quilt
 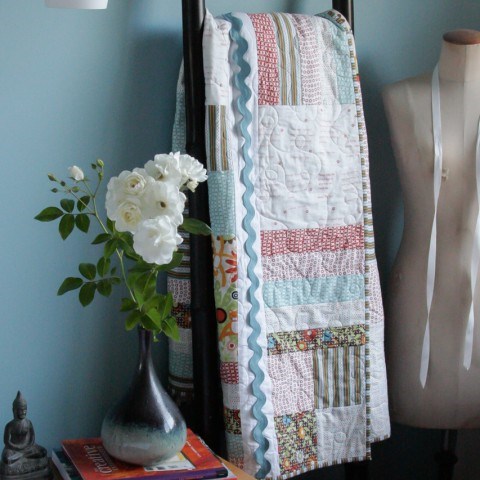 My first quilt
Sacha (@zigged)
Hello! I used this pattern to make a throw for my stepdaughter out of her t-shirts. I interfaced the shirts, cut blocks a little larger than the crib size instructions indicated, and finished it using the envelope method with a sheet as the backing. I did a blanket stitch around the perimeter and tied the quilt together with a knot at every seam intersection. It’s not going to win any state fair ribbons but it should serve its function. ?
I am not on Instagram but I did post a photo on Twitter: https://twitter.com/zigged/status/943204864070430720
Doris
I made a 90×90 plus quilt out of 2.5 inch squares. I used print fabric only with no two pluses out of the same fabric. It is mind blowing how beautiful it is! It is. One of my very best quilts. I love it.