
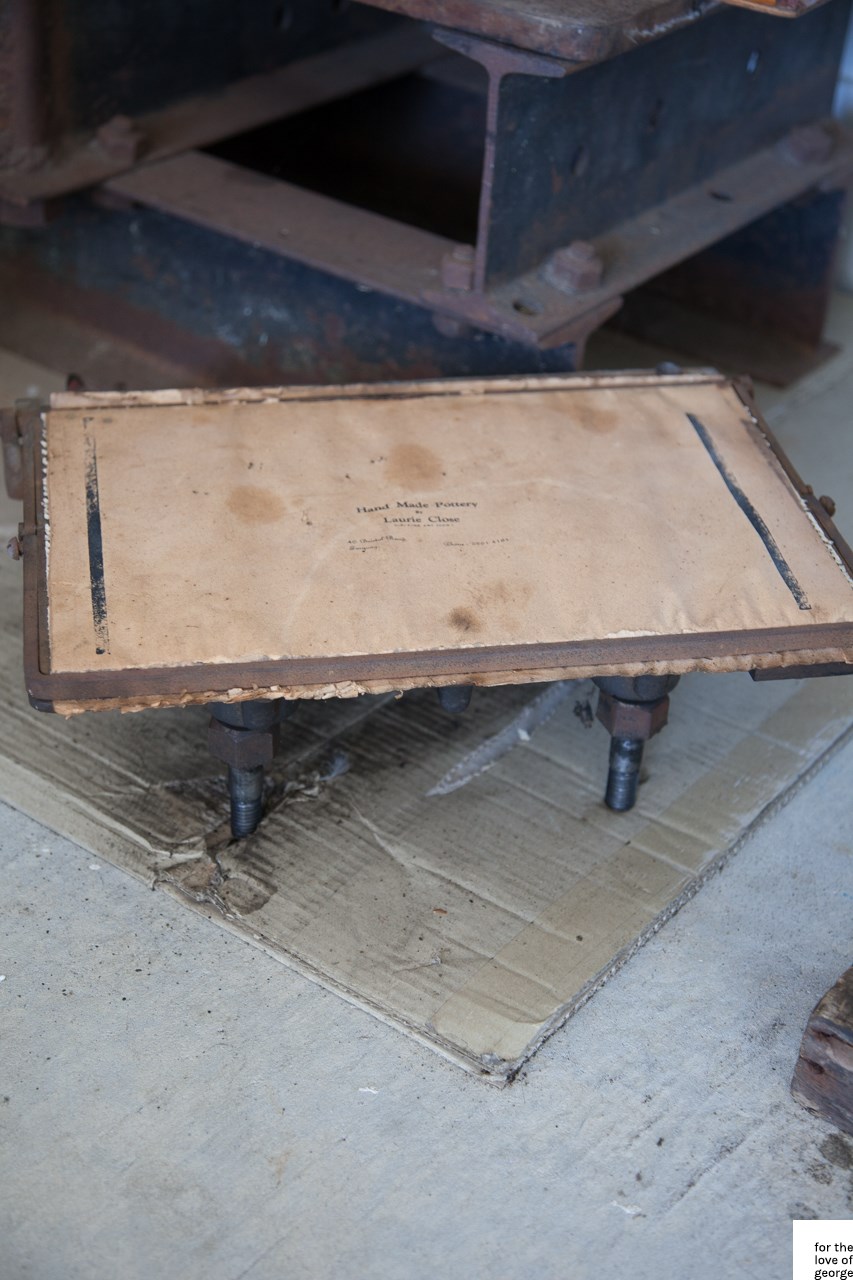
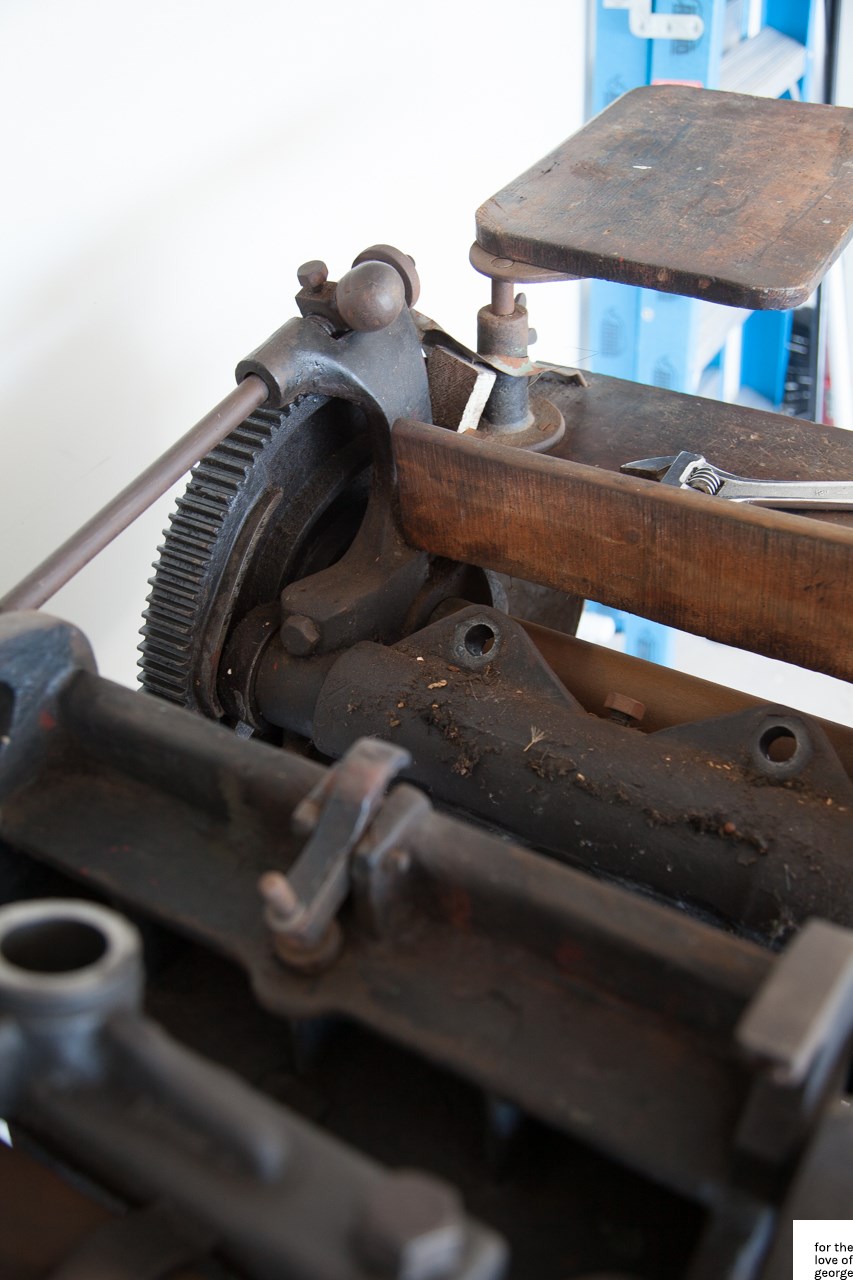
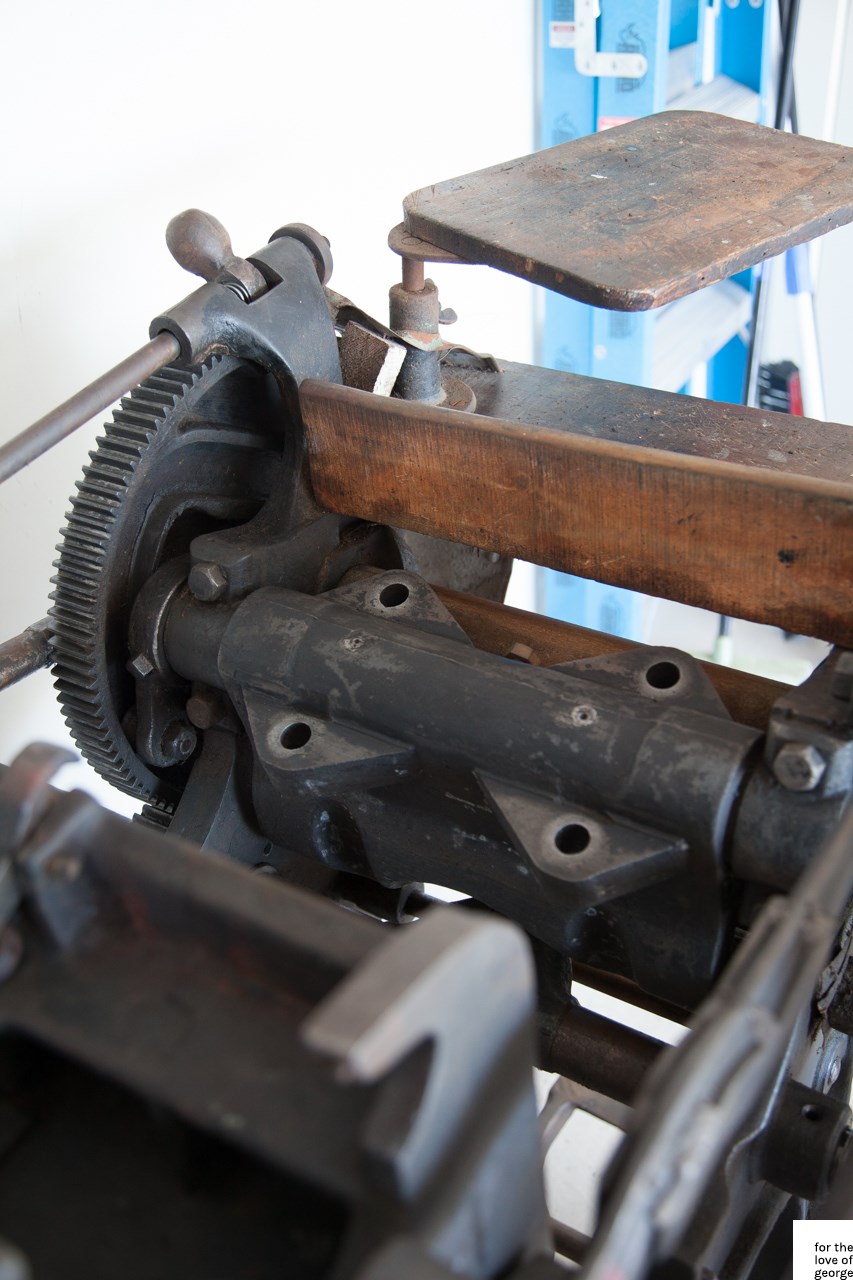
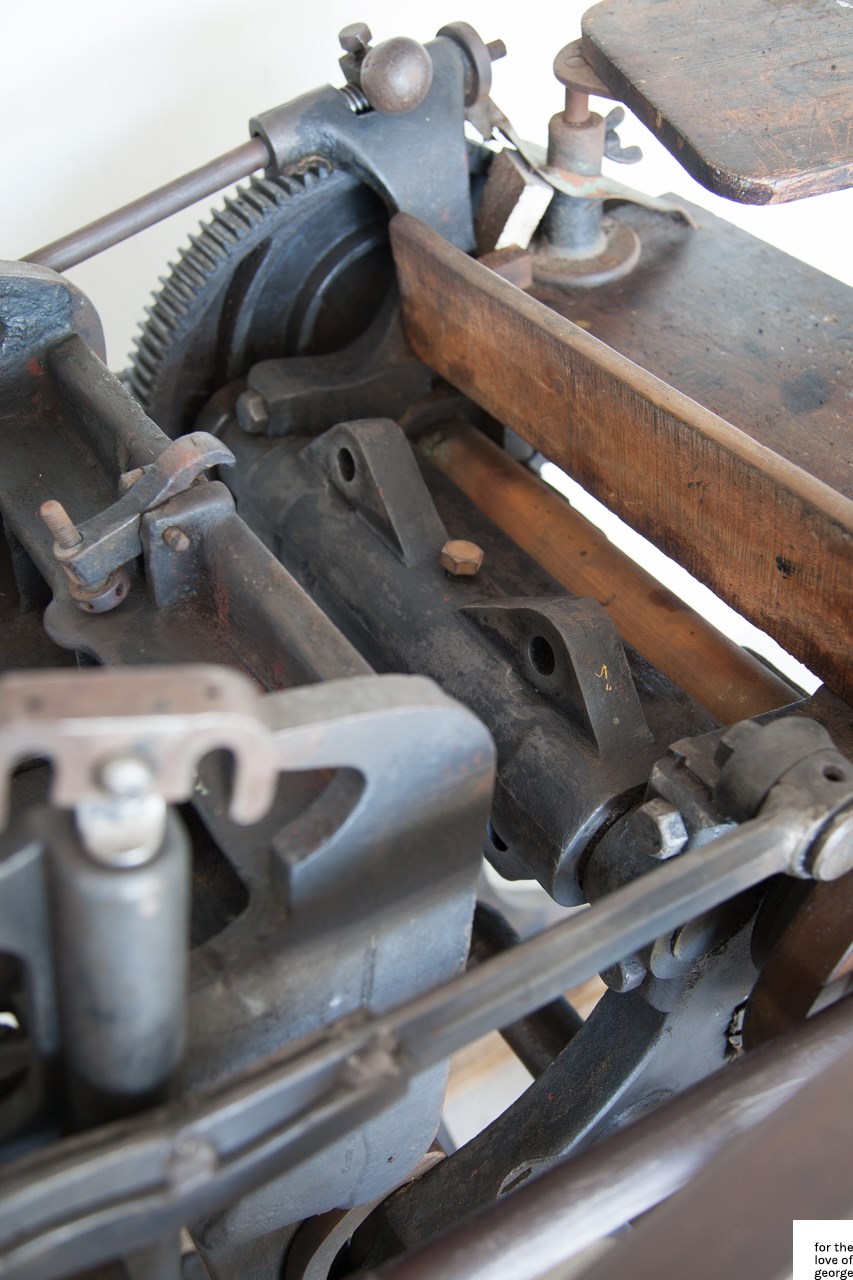
Next cleaning session, next order of business: remove the platen for cleaning. The nut fastening the platen to the press is ginormous. I wasn’t sure if I would be able to undo it, as I’m sure it hasn’t been shifted in forever. I put so much pressure on the wrench, that when it finally gave way, I nearly headbutted the flywheel. A broken nose is not in my plans. And when all four nuts were removed, I initially thought the platen was stuck. But alas, it was just so heavy I couldn’t lift it! So I called in Mr. Strong (ie. husband) to save the day.
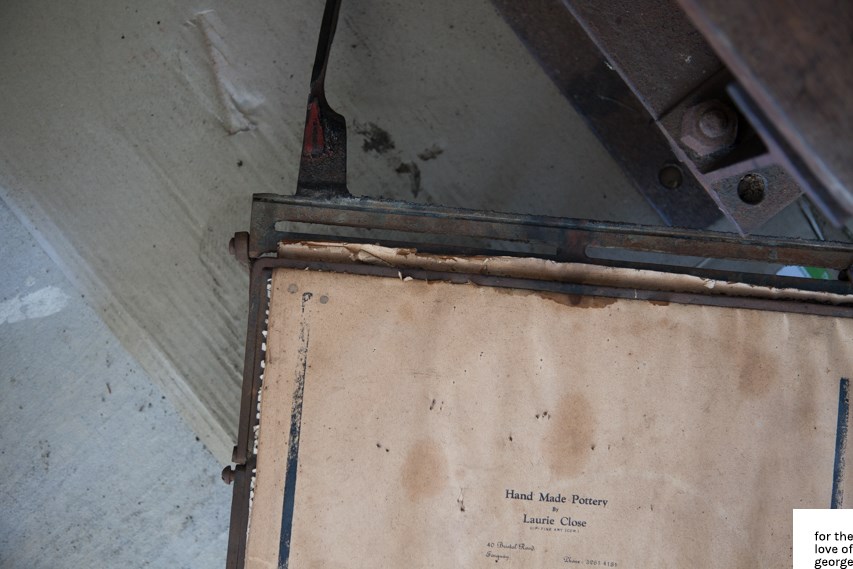
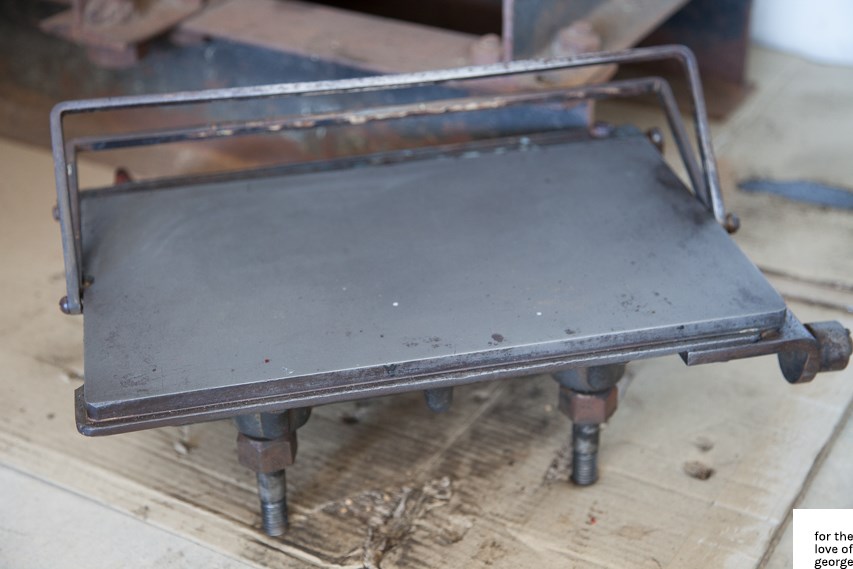
The platen was really rusty. The paper clamped to it had been there so long it was flaking off. I jimmied the clamps open with a screwdriver to get the paper out, then gave the whole thing a good going over with rust killer. It has come up an absolute treat. I reckon I could give it another go, to get it looking even better, but I’m happy with the results.
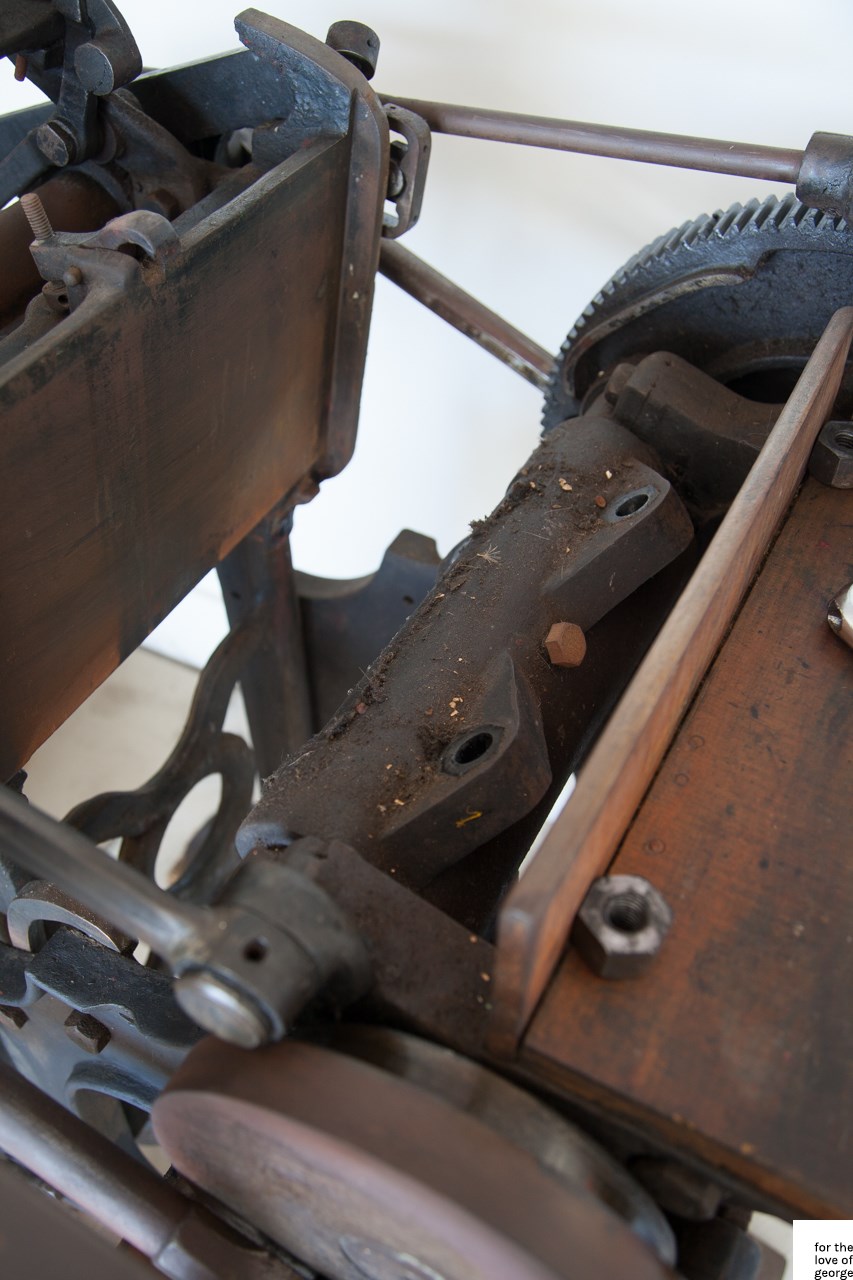
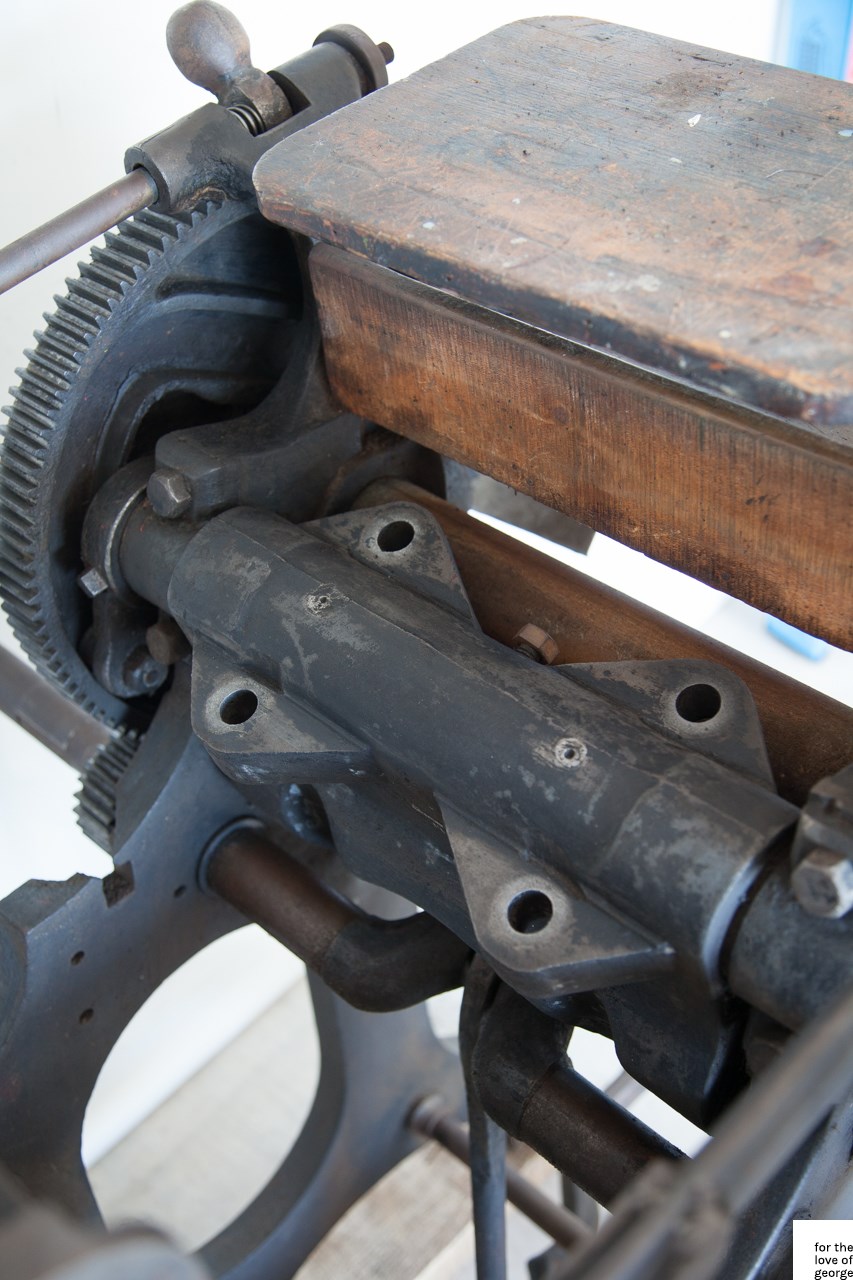
There was also a lot of debris under the platen which was impossible to get to while it was still in place, so that got a good going over too.
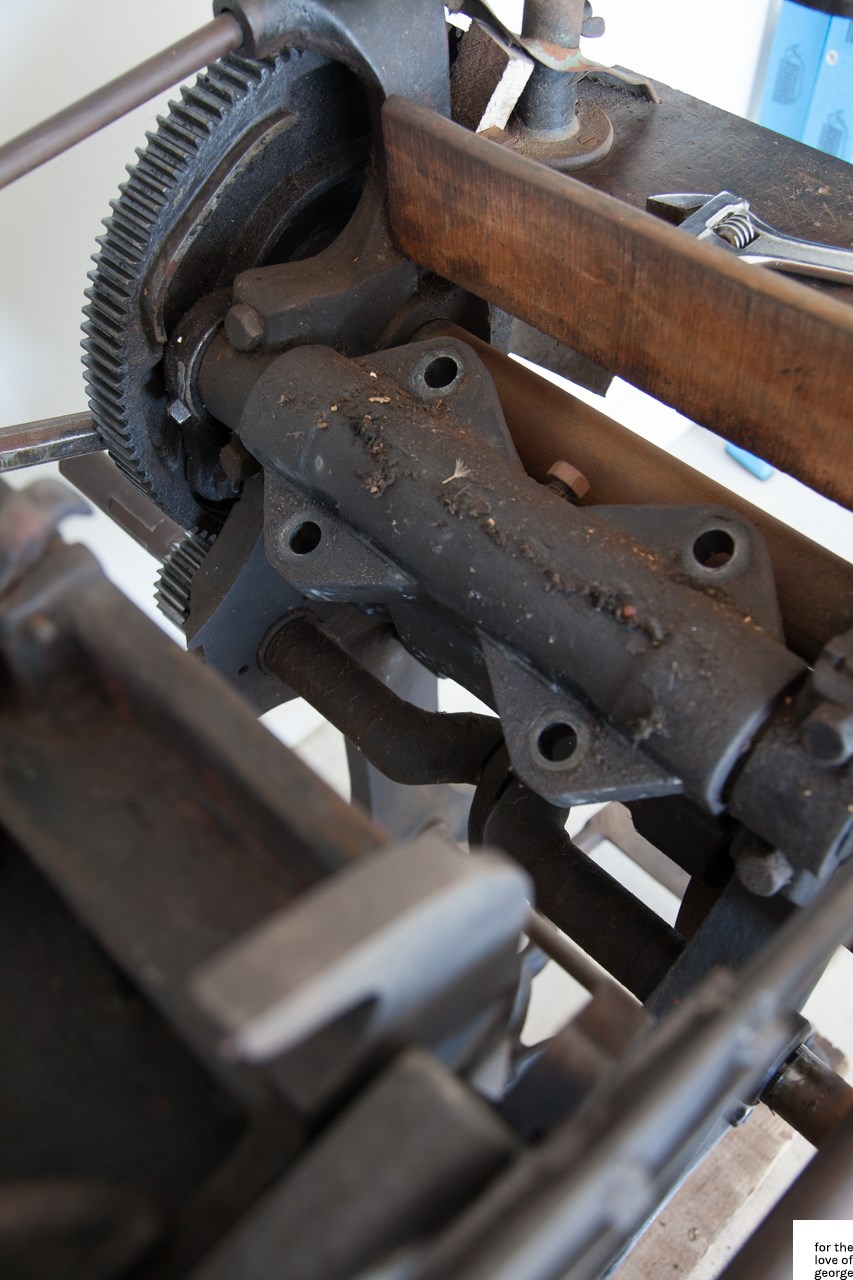
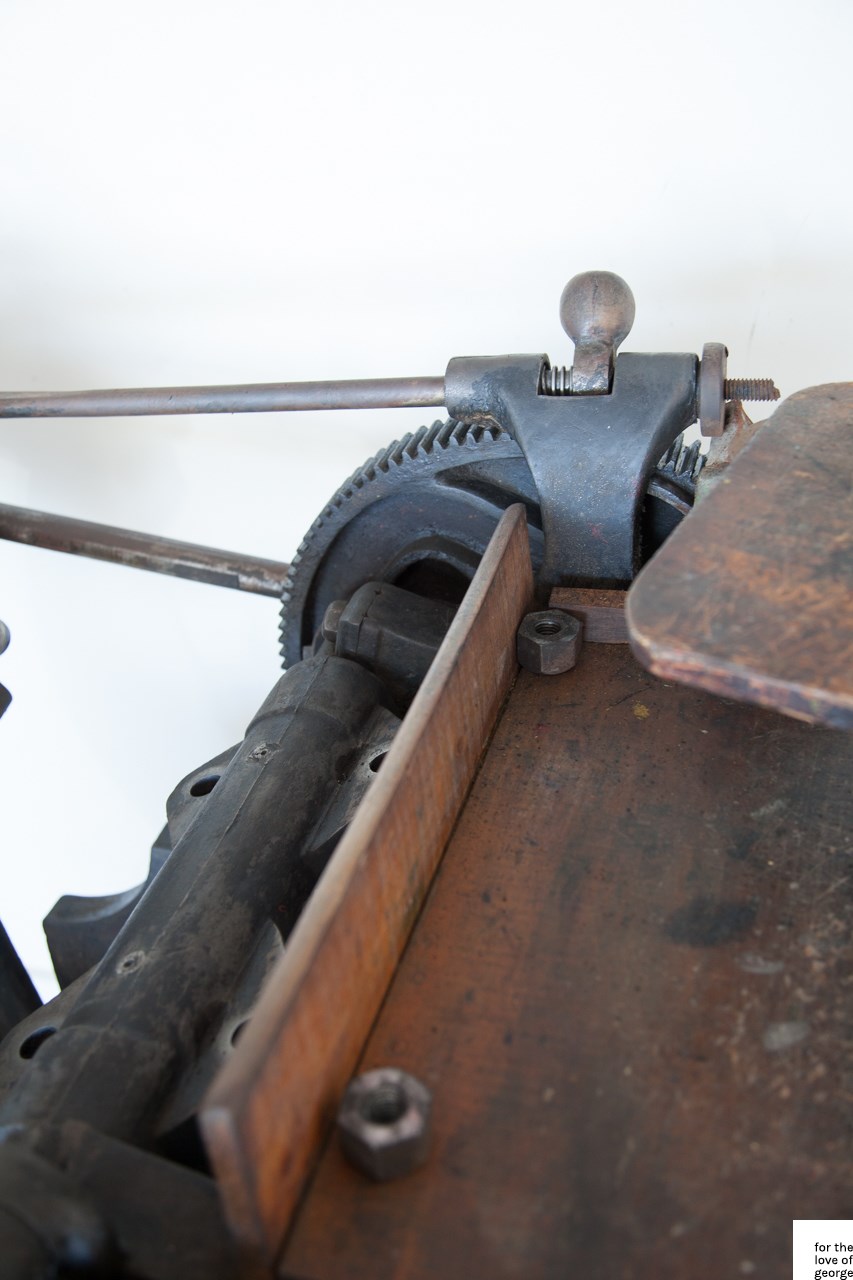
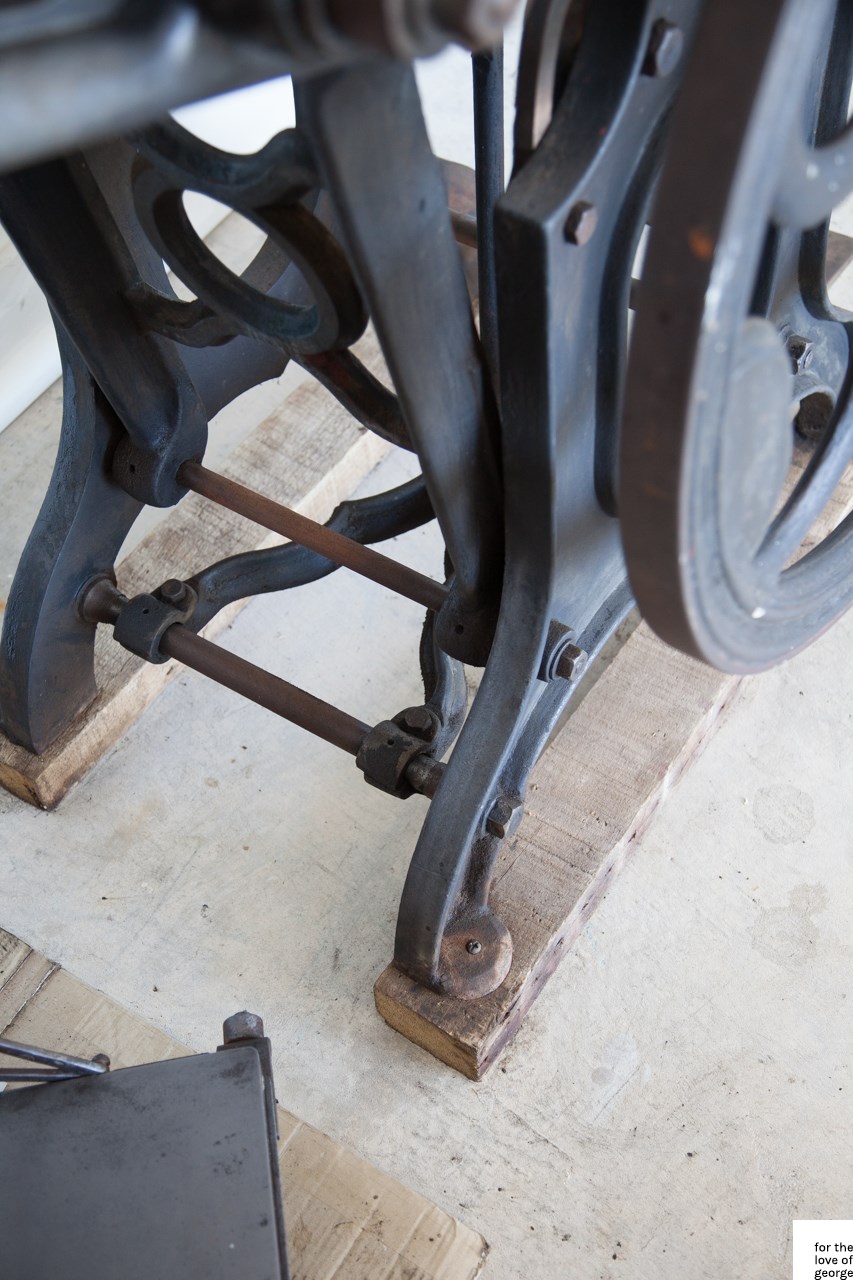
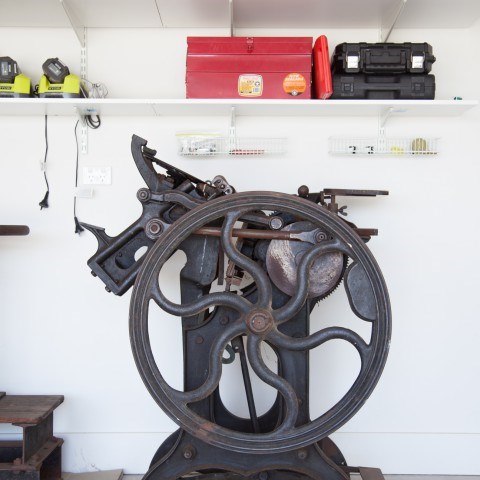
My husband and I had his father over recently, and being an electrician and overall general handyman, he had some great insights. The arm extending from the platen is missing a wheel, which is supposed to sit within a track on the inside left leg of the press. I’m not entirely sure why this is required, but I’m sure it serves a purpose that will only become clear as I attempt to print. So we’re adding ‘find a local engineer’ to the list of things to do, so we can get the wheel manufactured and replaced.
I think I’ve probably got at least another two cleaning sessions to go before I can start putting her back together, and to the very serious task of making my first print.
 The letterpress arrives
 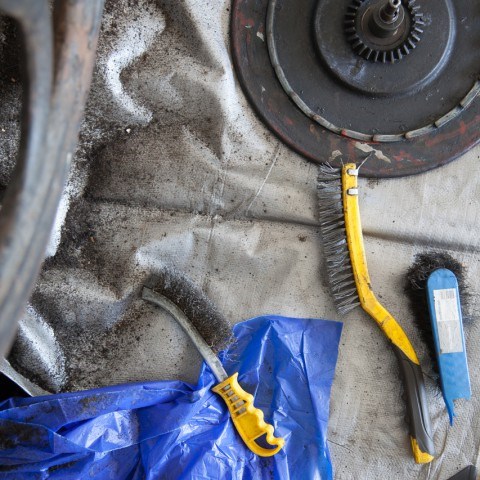 Letterpress restoration
 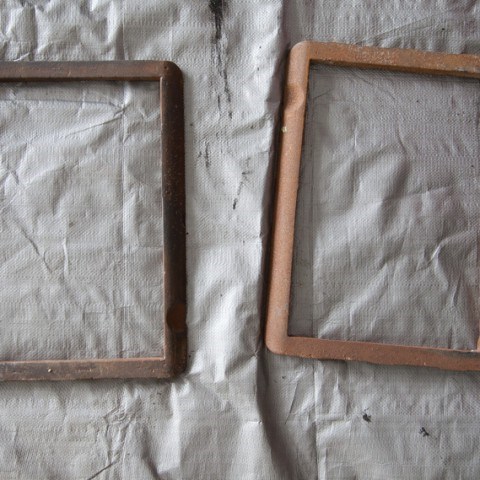 Killing rust on the letterpress
  Celebrity baby name game