
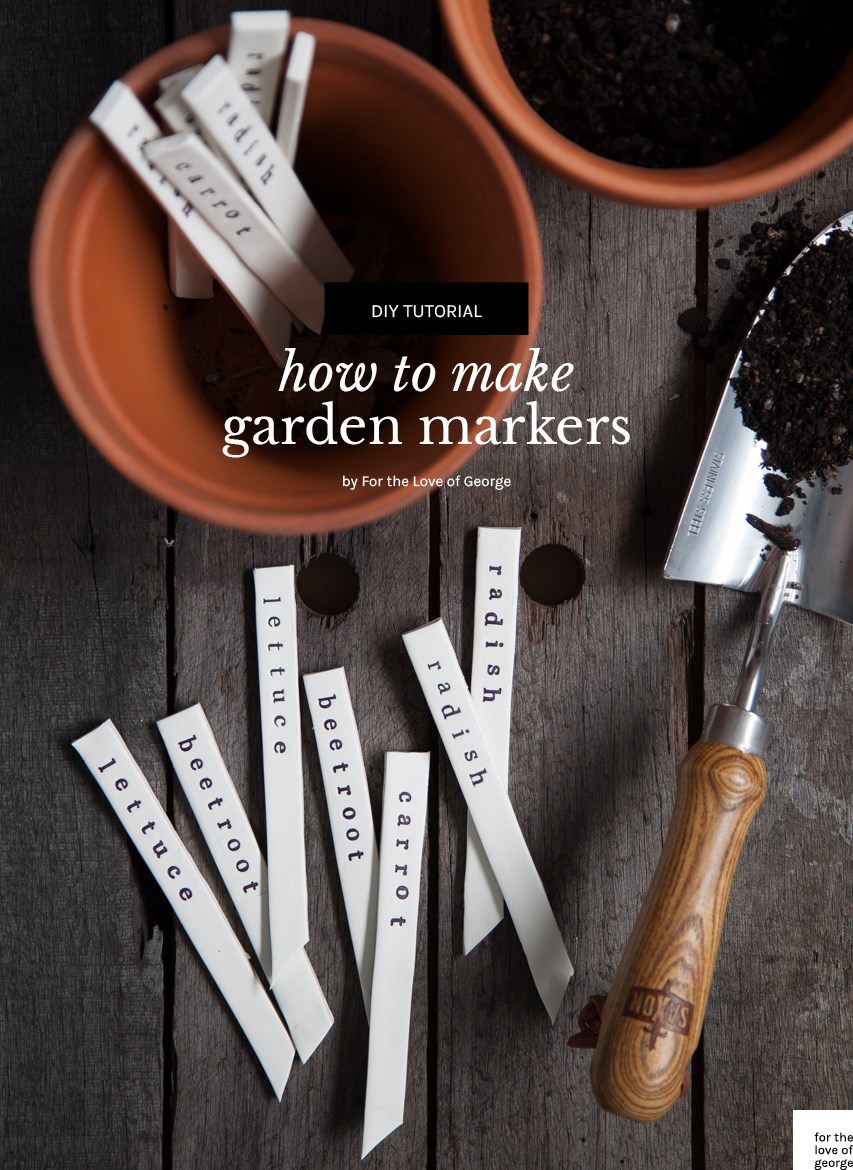
This is a fun and easy project for green-thumbed big-kids (read: older kids and crafty adults), but if your little tackers want to get their hands dirty too, they will need a little help from an adult for the baking step.
What you’ll need
- Sculpey Original Oven Bake Clay
- Rolling pin (I used one made for rolling fondant icing)
- Cutting mat
- Metal ruler
- Rotary cutter or stanley knife
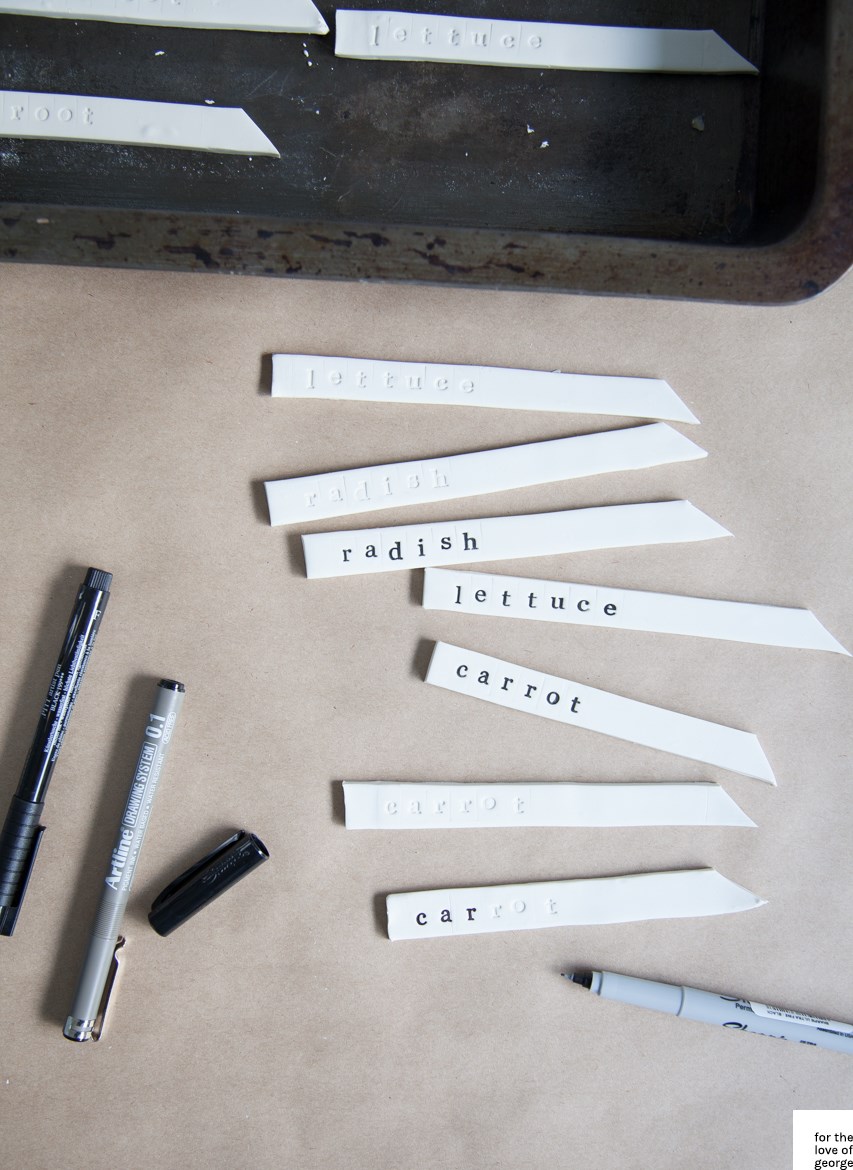
- Letter stamps (I used these from eBay)
- Old baking tray
- Fine point black felt-tip pen (see tip below)
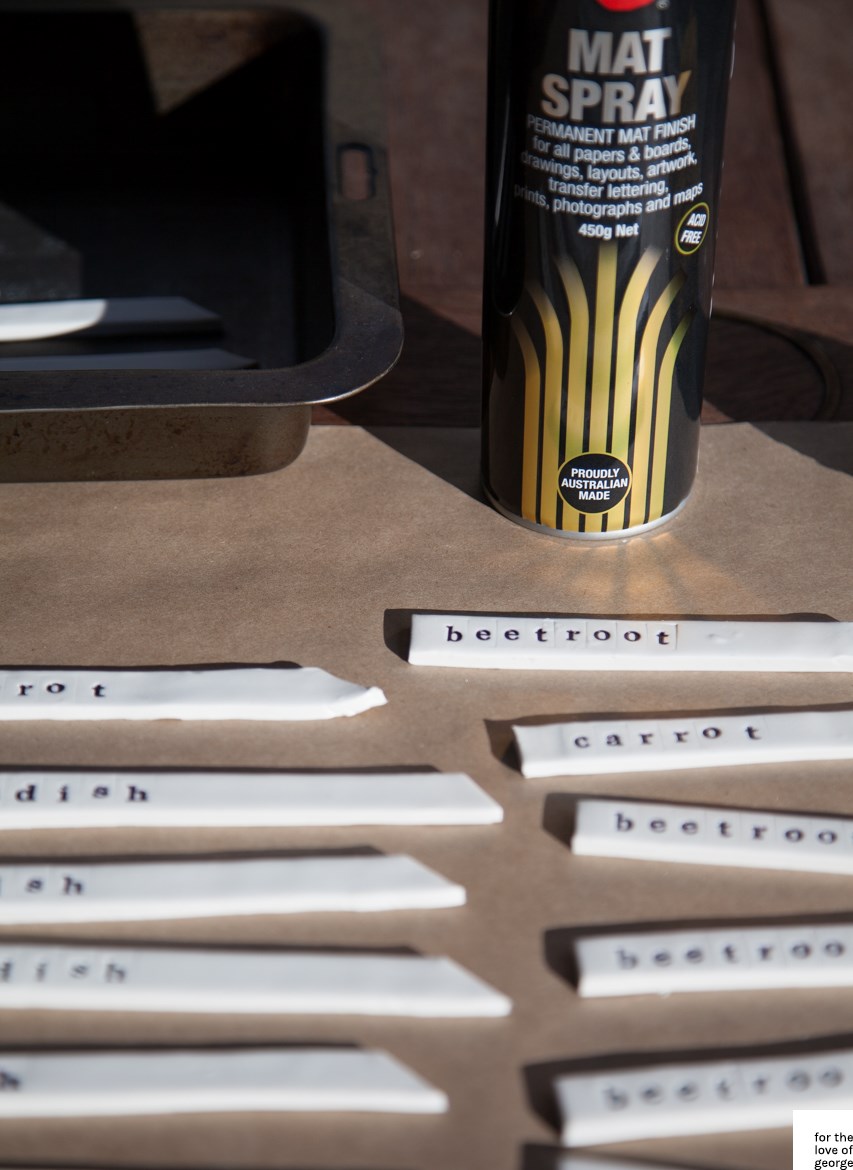
- Matte sealant spray (suitable for outdoors)
Tip:
You may need to try a few different pens to get one that works best for you. I found the 0.1 and 0.4 Fine Point felt-tip drawing pens dried up after a few goes, but you may need a pen that fine in order to get into the impression of a serif stamp. The fine-tip permanent marker style pen had a more fluid flow of ink and didn’t dry out, but I found it bled a little around the edges when hit with the sealant spray. Be sure you select a sealant spray that is suitable for outdoor use, to protect your little markers from the elements.
How to make
- Work the oven-bake clay in your hands until warm and pliable. Using your rolling pin, roll out to approximately 3mm thick and high enough to make a 25cm long marker. If you’re using a fondant rolling pin, the rolling gauges will help you to determine a good thickness.
- Using your ruler, mark indents in the clay with your cutting knife at 1.5cm increments at the top and bottom, then use those marks to cut into strips (a set square will help you get them straight). Cut away excess clay to neaten up the top and bottom to form a rectangle.
- Using your letter stamps, press your vegetable and/or fruit names into the clay. You may need to practice a few times to get the pressure of the indent just right. Don’t worry about getting the letters perfectly aligned, a little random placement adds to the handmade charm.
- Cut off a corner at the bottom to make a point, and place on to an old tray for baking. You will need to be careful when peeling each marker off your table/cutting mat, as it does tend to stick a little and the clay stretches and dints easily.
- Bake in the oven according to the clay baking instructions.
- Allow to cool before handling. Using your black felt-tip pen (see above for pen selection tip), fill in the indent made by your letter stamps.
- Place your markers on a scrap of paper or newsprint, and spray with a matte sealant spray according to the instructions on the can. Be sure you do this step outside, or in a very well-ventilated area. Allow to dry before handling.

 Rabbit vegetable garden cake
 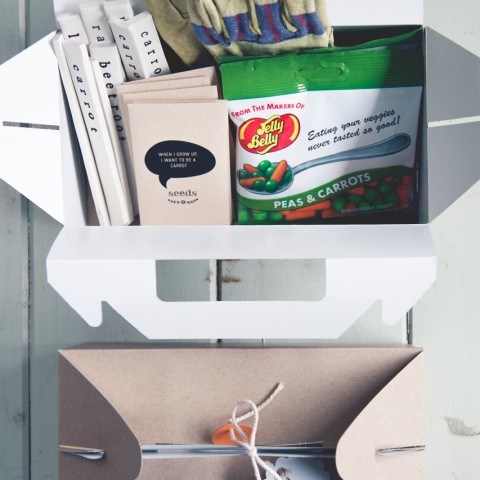 Rabbit vegie patch party
 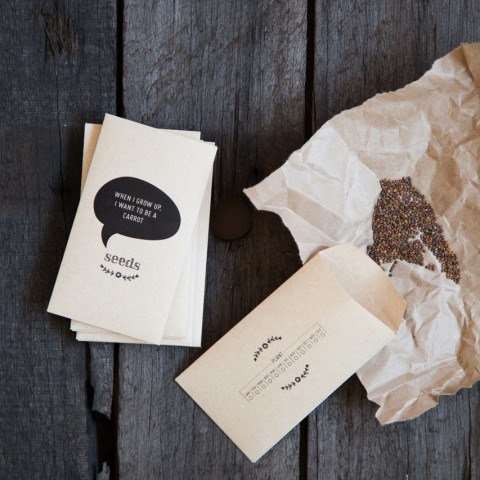 Seed packets
 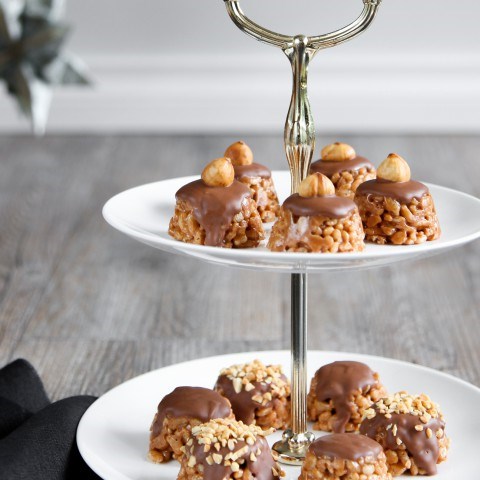 Chocolate rice crisp bites